LOGOED delivers custom Hi Vis Jumpers designed for warmth, compliance, and branded visibility. Choose from embroidery or print decoration. No minimum order required. Free delivery across Australia.
Add your logo to our safety jumpers for on-brand, high-visibility uniforms that stand out on-site.
Hi Vis Jumper Printing Australia
Custom Printed Safety Workwear
Branded Fluoro Jumpers for Outdoor Use
Day/Night Compliant Options Available
Choose embroidery for rugged, repeat-use uniforms. Perfect for workwear that needs to maintain a clean, professional look.
Embroidered Hi Vis Jumpers with Logo
Custom Embroidery for Trades & Logistics
No Minimum Order & Volume Discounts
Long-Lasting Stitching & Fluoro Compliance
LOGOED offers instant pricing, free logo clean-up, and 5-minute design previews to streamline your order.
Custom Hi Vis Jumpers Online
Instant Quotes for Printing or Embroidery
Free Delivery Australia-Wide
40% Off First Order
Trusted by 48,000+ Businesses
Pullover & 1/2 Zip Jumpers
Fleece Safety Workwear
Reflective Tape (Compliant Styles)
Two-Tone Fluorescent Colour Options
Construction & Site Work
Traffic Control & Civil Projects
Warehousing, Logistics & Transport
Mining, Labour Hire & Trade Services
LOGOED has printed and embroidered over 11 million garments across Australia. Hi Vis Jumpers keep teams compliant, visible, and brand-aligned year-round.
Turnaround Time
Production Time:
> 3-10 business days.*
> 83.9% within 7 business days.*
Delivery Time:
> 1-6 business days.*
> 87.4% within 3 business days.*
80% Polyester, 20% Cotton Blend: Offers durability from polyester and comfort from cotton, ensuring longevity and a soft feel against the skin.
280gsm Fleece Fabric: Balances warmth and breathability, making it adaptable to different climates and activities.
Compliance with Standards AS/NZS 1906.4:2010 and AS/NZS 4602.1:2011 Day Only: Ensures high visibility in low-light conditions, enhancing safety.
Front Contrast Panel: Adds a stylish touch while improving visibility.
Rib Basque, Neck, and Cuffs with Elastane: Provides a snug yet flexible fit, enhancing comfort and mobility.
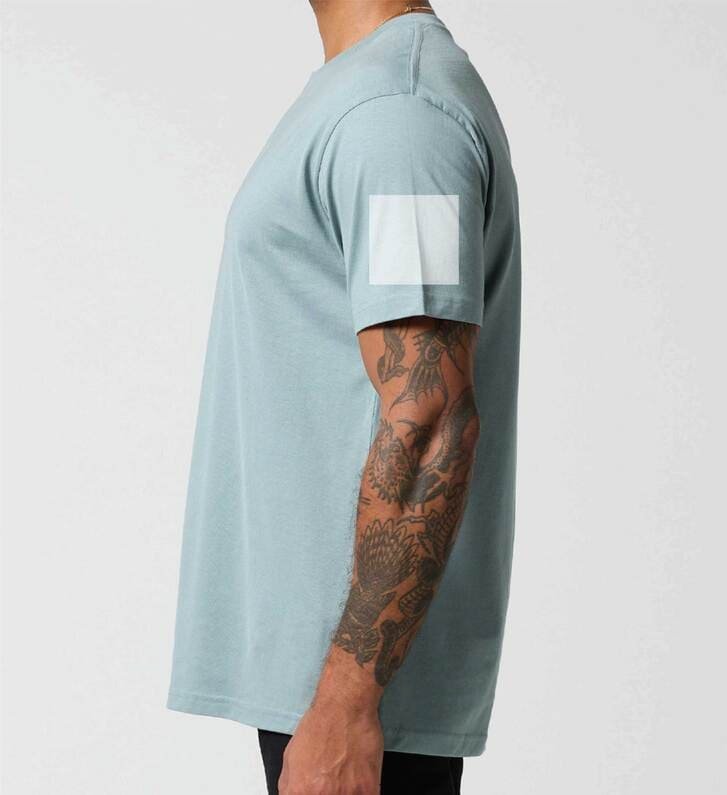
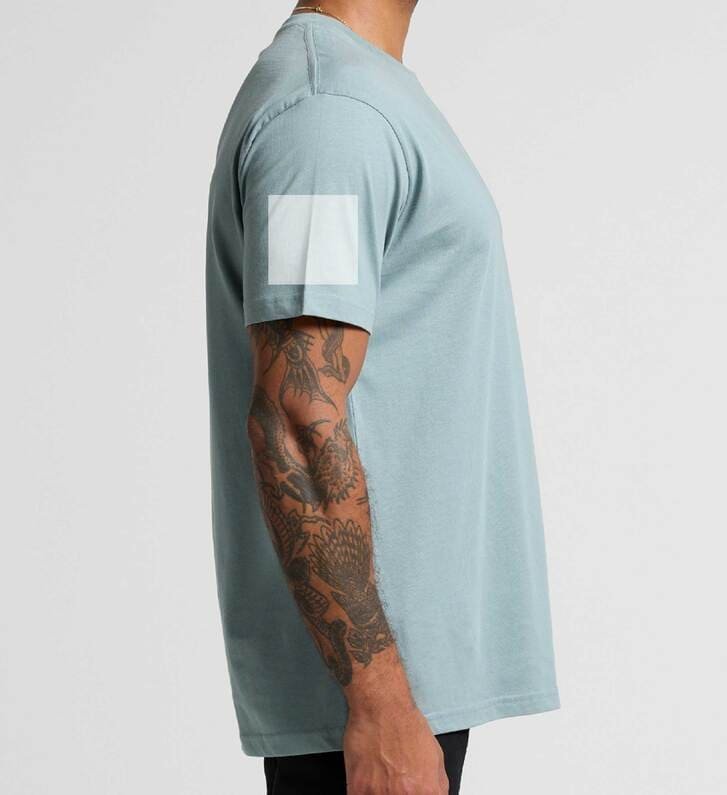
Pen Pocket at Sleeve: Offers convenient storage for essentials, adding practicality to the design.
Easy Care Fabric: Simplifies maintenance, allowing for hassle-free cleaning and upkeep.
Compliance with Standard AS 4399:2020 for UPF Protection: Shields against harmful UV rays during outdoor activities, prioritising protection and safety.
Order Process
Q What are your payment terms?
We require full payment prior to processing the order.
Q. Do you offer pick-up and / or postage?
All orders are for delivery only; we do not provide pick-up services.
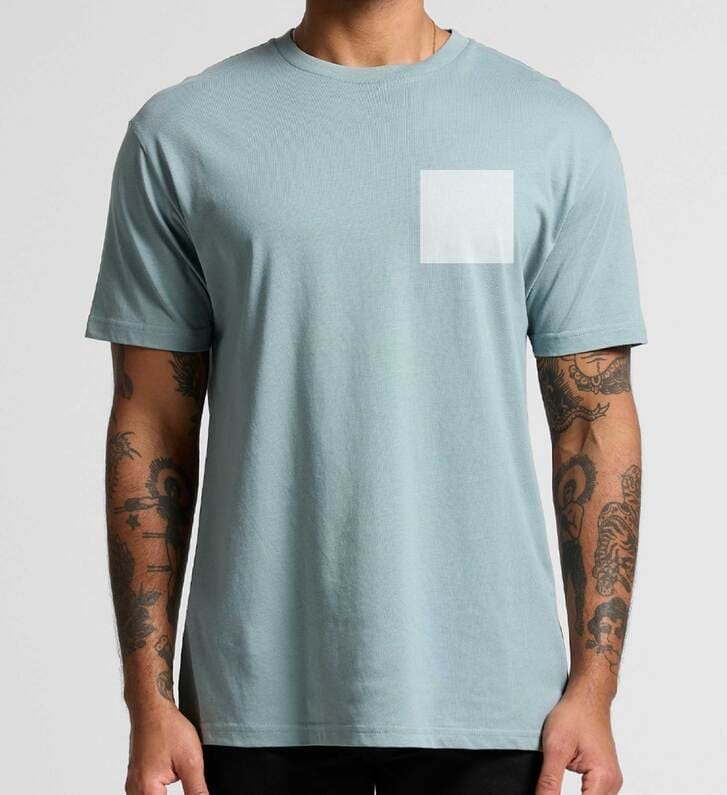
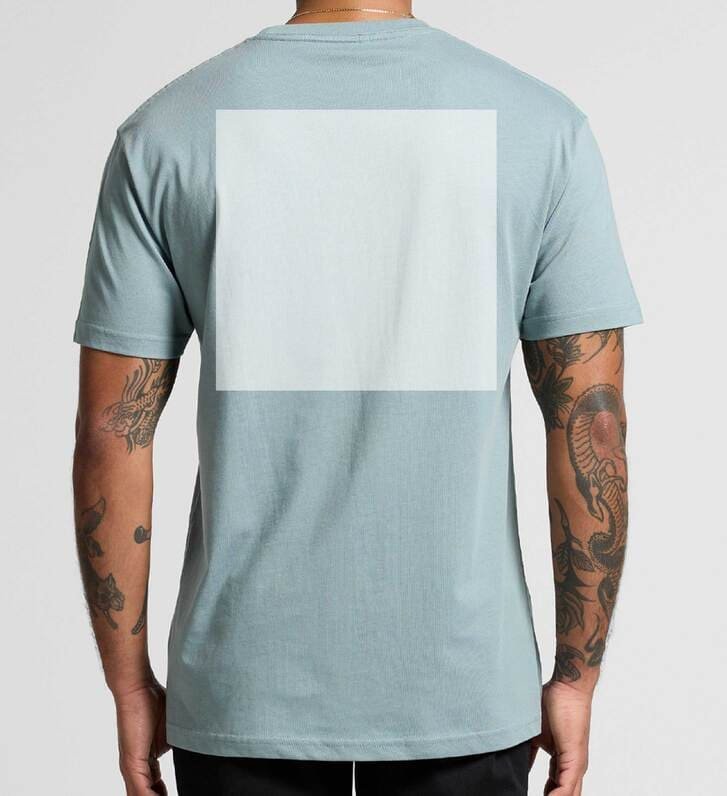
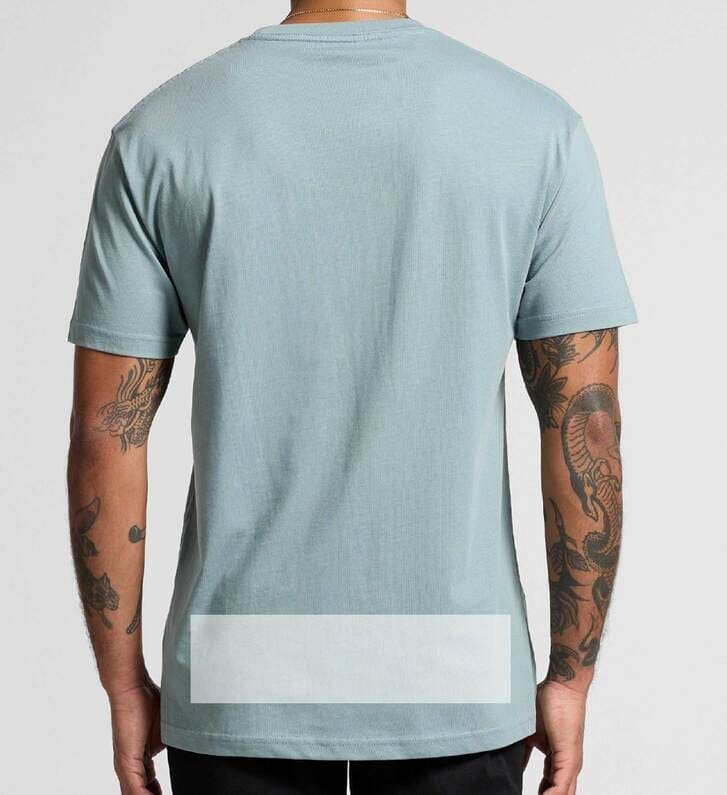
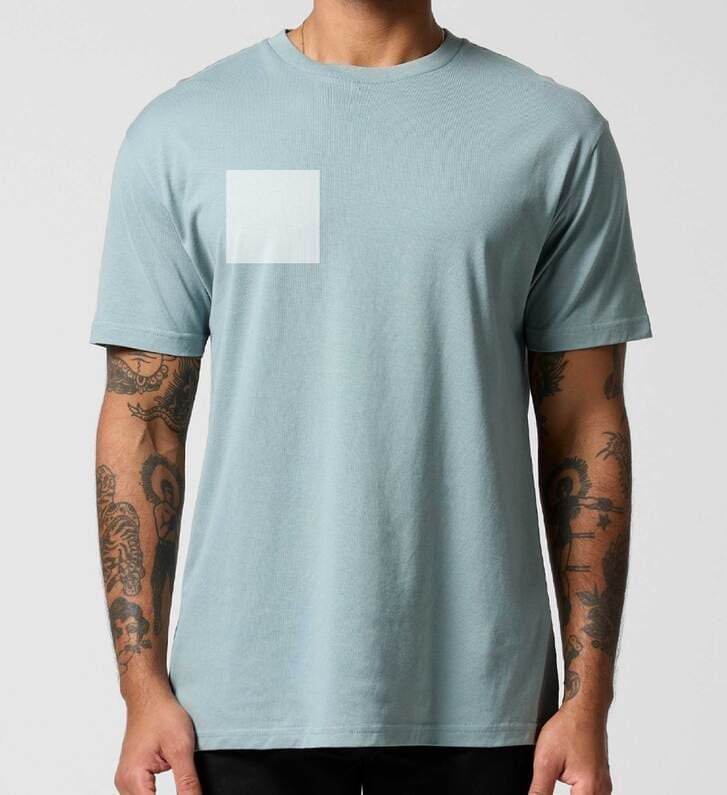
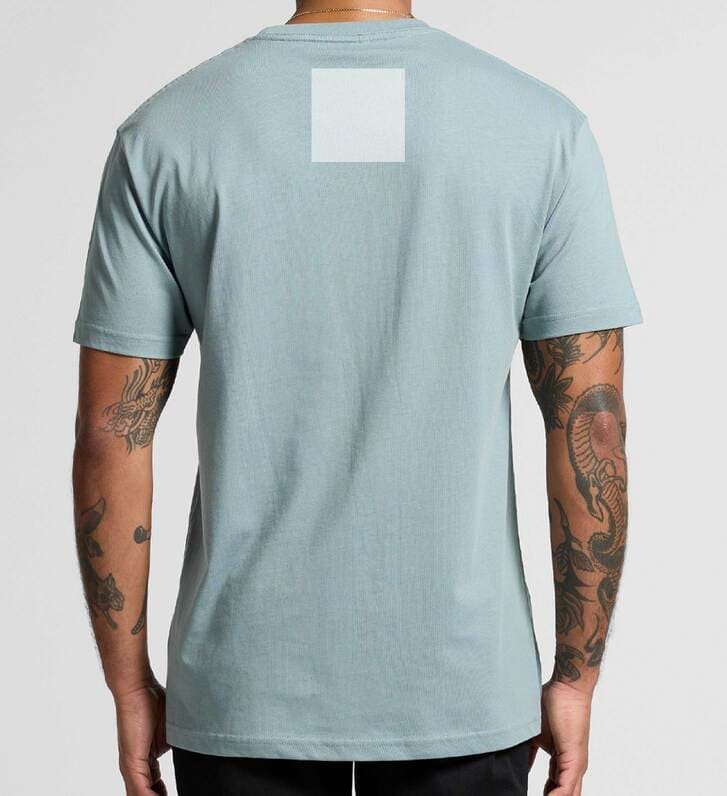
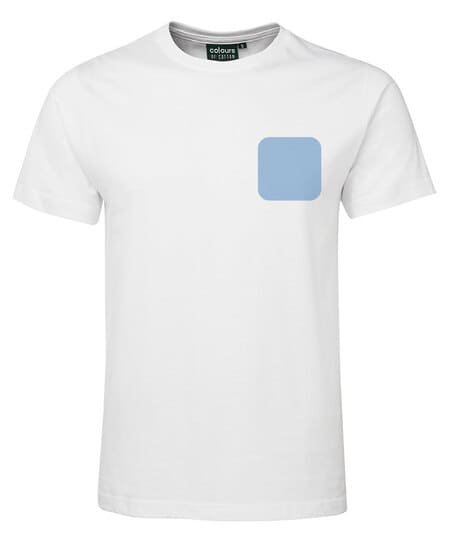
Decoration Positions / Sizes
Q. What size will the logo be printed or embroidered?
Here is a rough guide of our print positions on an adult sized T-Shirt.
Note; this will vary depending on product style, and size
LHS Breast: 8-11cm wide (height will be proportioned)
Front Chest: 24-30cm wide (height will be proportioned)
Standard Back: 24-30cm wide (height will be proportioned)
Clothing
Q. Do you have a minimum order?
There's no minimum order! However the more you order the more you save.
Q. What is the difference between printing & embroidery?
Embroidery is stitching a design or logo with thread into a fabric.
Embroidery
Q. What is your turnaround time for embroidery?
Production Time:
>3 - 10 business days
>83.9% within 7 business days
Delivery Time:
>1-6 business days
>87.94% within 3 business days
Printing
Q. What is your turnaround time for printed clothing?
Production Time:
>3 - 10 business days
>83.9% within 7 business days
Delivery Time:
>1-6 business days
>87.94% within 3 business days
Q. How long will the printing
Printing after our testing tends to last over 50+ wash
Artwork
Q. What file format do I need to provide?
Printing
We require an EPS, AI, PDF or SVG File
However, if you do not have this file available, please send through what file format you do have and we can advise you if the file form


T Shirt Size Guide Example
SELECT
COLOR
Copyright @ 2025 Logoed All Right Reserved